
Kids love popcorn (then again, don't we all?); and this one is covered and baked in a sweet, buttery, home made caramel, then topped off with a drizzle of chocolate. Can't you just see kids going crazy for one of these cones of crunchy fun at a party? As far as the cones go, we made this snack with a grab-n-go concept in mind by making paper cones and sticking them down into a block of styrofoam that we dressed up with a cheetah patterned ribbon.
The recipe uses ingredients you probably already have on hand, and is not hard at all! And of course, you know that I'll walk you through it with step-by-step photo directions.

So whether you are looking for a party idea, or just want to make something special with/for you kiddos, give this one a try. They are sure to love it!!
- 8 cups popped popcorn
- 1 cup butter
- 1 tsp table salt
- 2 cups packed brown sugar
- 1/2 cup light corn syrup
- 1 tsp vanilla
- 1 tsp baking soda
- 1/2 cup chocolate chips
- an alternative would be to use the chocolate flavored almond bark candy coating.
- 1/2 tsp coconut oil (optional)
Step-by-Step:
Preheat the oven to 200 degrees F. Go ahead and prepare your popcorn first. I used microwave popcorn. 8 cups was about 1 1/2 of the regular sized bags (not snack sized).

Tip - I like to sift the popcorn out of the bowl and onto the sheet pans I'm going to use before adding the caramel topping. This serves two purposes: 1. It leaves all the unpopped kernels in the bowl (because you do NOT want to be crunching down on that!); 2. It allows me to check the spacing that I'll need when I go to bake them. I want them to spread out and not all be touching so the hot air can circulate between them. Then you can add back to the bowl for the caramel coating. This may be an extra step, but I'd rather not be sending anyone to the dentist for a broken tooth from biting down on an unpopped kernel.
Prepare the caramel.
Combine butter, brown sugar, salt, corn
syrup, and vanilla in a medium sized saucepan.
 |
| 1 cup butter |
 |
| 1 tsp table salt |
 |
| 2 cups packed brown sugar |
 |
| 1/2 cup light corn syrup |
 |
| 1 tsp vanilla |

Bring to a boil. Boil
for 5 minutes. It is normal for it to "grow" as you are cooking it. It will probably also turn a little darker brown in color as it cooks.


 |
| 1 tsp baking soda |
Add the caramel over the popcorn and
stir well to combine. Be super careful, as the syrup is like molten
lava!! I recommend using a wooden spoon that won't conduct heat.


Bake the popcorn for 1 hour, stirring
after each 15 minutes. The popcorn will NOT appear to be crisping up while its baking. The caramel coating will remain soft. It does NOT harden until it cools down after baking. After the hour, remove the baked popcorn and allow it to cool.


While
the popcorn is cooling, melt the chocolate.
You can do it in the
microwave or on the stovetop. Today, we are going with the stovetop.
Be sure to not allow anything with water to touch the chocolate, or it
will seize up. Stir the chocolate chips and coconut oil (optional)
together until smooth and liquified.
 |
| 1/2 cup semi-sweet chocolate chips |
 |
| 1/2 tsp coconut oil (sorry for the terrible photo!) |
At this point, I will depart from
my method and advise you to add a little bit of paraffin wax if you have
it. This will help the chocolate to firm up and harden later. If you
don't have it, don't worry too much - it will just be a little messier
to eat. If you chose to use the chocolate candy coating, it won't be
as messy.

I
used a wooden spoon for this job, too, although a fork would probably work
just as well. Twirl the spoon really fast over the popcorn, and the
chocolate will sort of "fly off" in little ribbons. Don't worry about a
glop of it coming off, it tastes JUST as GOOD (trust me on that!). This reminds me of splatter painting as a kid in school!

Allow
the corn and chocolate to cool completely. If you have any left after
everyone passes through the kitchen, store in an airtight container once
completely cool. After the caramel cools, it gets really crunchy. The salty popcorn and sweet, buttery caramel are fantastic together... and the chocolate drizzle is an extra bonus.
If you are sure there are no nut allergies, toasted nuts would be great mixed in here, too!

So
here's where we made it a little bit fun!
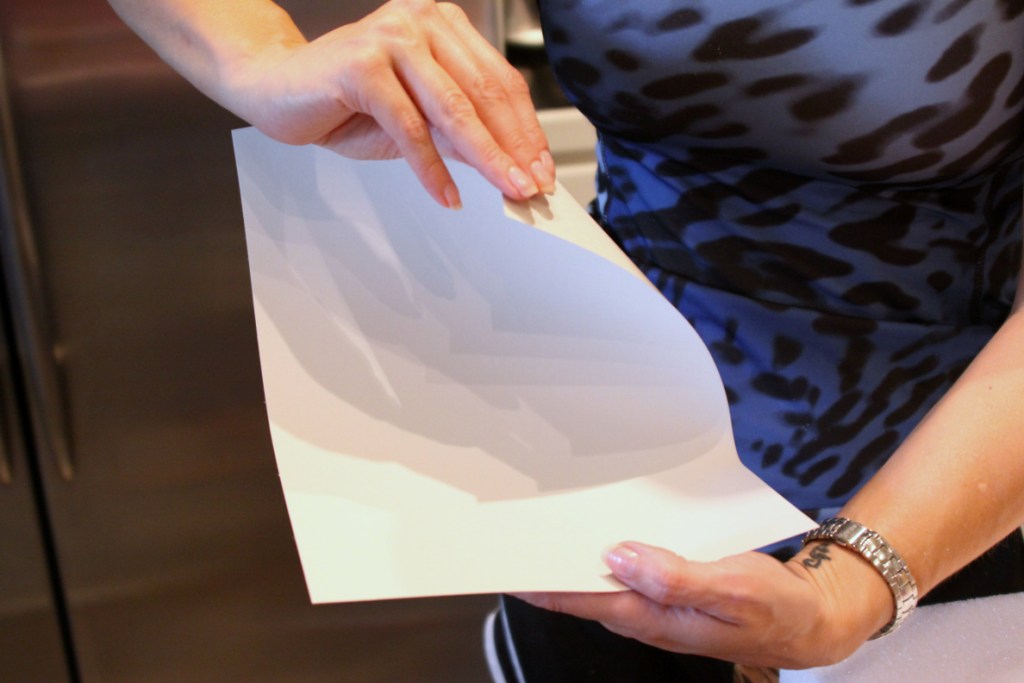
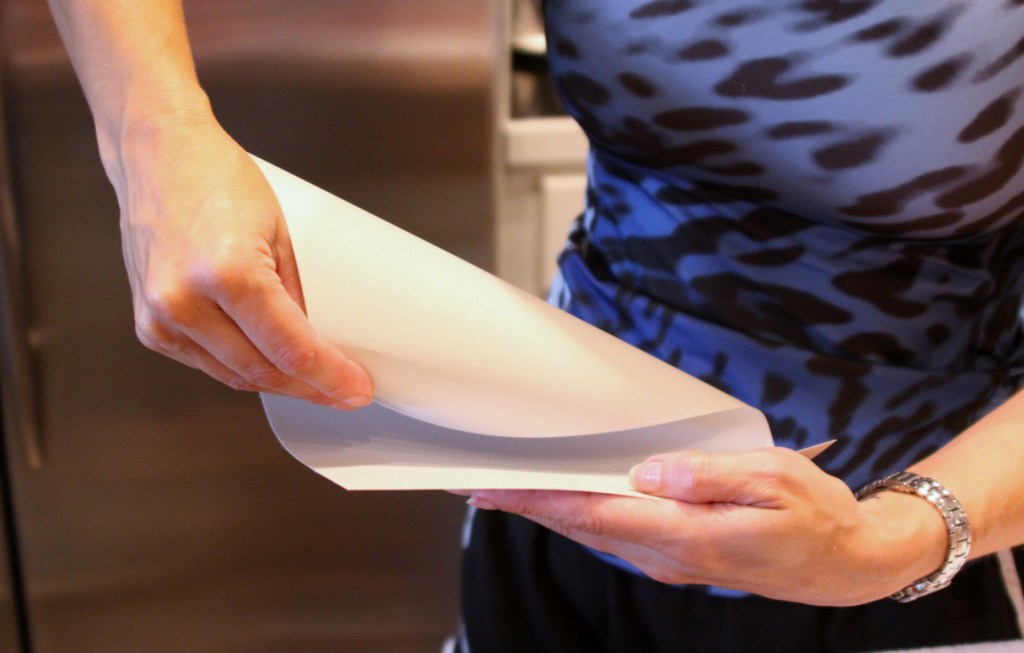
To go with the "cheetah"
theme, we made paper cones out of earth toned card stock to use as
individual serving containers. You can also use the small, purchased paper drinking cones for this. I just curled one corner in towards the opposite corner, twisted into a cone, and taped them. This was "low tech!" HaHa
I poked holes in a block of Styrofoam
with an apple corer to hold the cones in a standing position.


I hot glued a cheetah ribbon
around the base to dress it up a bit. So for a kids jungle party - or
even to have the girls over for a fun movie night - we had a cute little
cheetah setup.

Here they are!!! Grab-n-go Cheetah Crunch Cones!!!


Oh please tell me you enjoyed this recipe!!
There are lots more great recipes just waiting for you on my Recipe Index! Some are completely from scratch, others use convenience items for quick after-work family meals. Some are kid oriented, and others are for date night with your sweetheart. Because the Modern Mom tries to balance all of these things.
And if you are new to MenuMusings, Click Here to Subscribe so you won't miss a thing!
Order the Menu Musings Cookbook!

And now, as usual, here are a few "bonus recipes" for you! Just click the links to go there:
Grilled Zucchini Rolls


Stuffed Pork Chops


Written Method:
Prepare your popcorn first. Also, go ahead and preheat the oven to 200 degrees F.
Tip - I like to sift the popcorn out of the bowl and onto the sheet pans I'm going to use before adding the caramel topping. This serves two purposes: 1. It leaves all the unpopped kernels in the bowl (because you do NOT want to be crunching down on that!); 2. It allows me to check the spacing that I'll need when I go to bake them. I want them to spread out and not all be touching so the hot air can circulate between them. Then you can add back to the bowl for the caramel coating. This may be an extra step, but I'd rather not be sending anyone to the dentist for a broken tooth from biting down on an unpopped kernel.
Prepare the caramel.
Combine butter, brown sugar, salt, corn syrup, and vanilla in a medium sized saucepan. Bring to a boil. Boil for 5 minutes. Turn off the heat and immediately add the baking soda. Careful, it will foam up pretty fast!
Add the caramel over the popcorn and stir well to combine. Be super careful, as the syrup is like molten lava!! Spread the coated popcorn out as best you can, dividing equally between two large baking sheets. Bake the popcorn for 1 hour, stirring after each 15 minutes. The popcorn will NOT appear to be crisping up while its baking. The caramel coating will remain soft. It does NOT harden until it cools down after baking. After the hour, remove the baked popcorn and allow it to cool.
While the popcorn is cooling, melt the chocolate. You can do it in the microwave or on the stovetop. Today, we are going with the stovetop. Be sure to not allow anything with water to touch the chocolate, or it will seize up. Stir the chocolate chips and coconut oil (optional) together until smooth and liquified. At this point, I will depart from my method and advise you to add a little bit of paraffin wax if you have it. This will help the chocolate to firm up and harden later. If you don't have it, don't worry too much - it will just be a little messier to eat. If you chose to use the chocolate candy coating, it won't be as messy.
I used a wooden spoon for this job, although a fork would probably work just as well. Twirl the spoon really fast over the popcorn, and the chocolate will sort of "fly off" in little ribbons. Don't worry about a glop of it coming off, it tastes JUST as GOOD (trust me on that!).
Allow the corn and chocolate to cool completely. If you have any left after everyone passes through the kitchen, store in an airtight container once completely cool.
So here's where we made it a little bit fun! To go with the "cheetah" theme, we made paper cones out of earth toned card stock to use as individual serving containers. I poked holes in a block of Styrofoam with an apple corer to hold the cones. I hot glued a cheetah ribbon around the base to dress it up a bit. So for a kids jungle party - or even to have the girls over for a fun movie night - we had a cute little cheetah setup.
No comments:
Post a Comment